The Situation
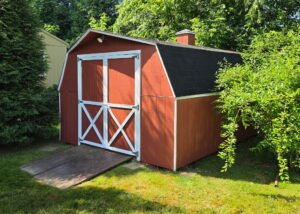
The Harmon family had used their 12 by 16 cedar shed for two decades, storing lawn equipment, seasonal furniture, and a growing collection of garden tools. It was a workhorse. But two wet winters in a row had taken a serious toll. By the time they called us, the south-facing wall had visible soft spots, the door frame had sagged enough that the door barely latched, and the roof had a slow drip that had quietly soaked into the floor joists below.
They had already gotten one quote, from a company that recommended full demolition and replacement at an estimated $11,000. That was not a path they wanted to take. They asked us to take a look first.
We figured it was done. But it still felt solid when you knocked on the walls. We just wanted someone to tell us honestly whether it was worth saving.
What We Found
Our first step on any repair job is a thorough walk-around before any tools come out. We check framing, siding, roofing, the foundation skids, and every penetration: doors, windows, and vents. What we found at the Harmon shed was a familiar pattern, isolated damage that looked worse than it was.
Problems identified:
- 11 siding boards with rot, concentrated on the south and west walls
- Left door hinge post pulling away from the frame
- 3 roof shingles lifted or cracked near the ridge
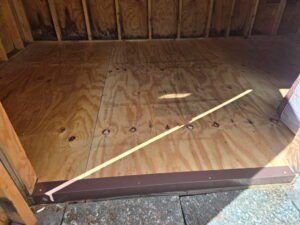
- 2 floor joists with surface moisture damage
- Deteriorating fascia board on the front eave
What was sound:
- Main wall framing, fully structurally intact
- Roof decking, solid with no soft spots
- Foundation skids, pressure-treated and rot-free
- Interior framing, dry and tight
- Hardware and door tracks, still functional
The core of the shed, its skeleton, was in good shape. The damage was real, but it was a surface and perimeter problem, not a structural one. That distinction matters enormously when you are deciding whether to repair or replace.
Our Approach
We laid out a four-phase plan to address every issue in a logical order: roof before walls, framing before finish, foundation checks before anything else. Working top down and outside in prevents rework and makes sure each repair supports the next.
Roof repair and weatherproofing. We replaced the three damaged shingles, re-nailed lifting sections along the ridge, and ran a bead of roofing sealant at all penetrations. The drip traced back to a failed ridge cap joint, which we sealed and reflashed. No more water entry point.
Siding removal and board replacement. All 11 compromised boards came out, with care taken not to disturb the sound boards next to them. Each was replaced with cedar tongue-and-groove siding matched to the existing profile. The new boards were primed on all six sides before installation to extend their lifespan.
Door frame reset and hardware adjustment. The hinge post was pulled, re-plumbed, and re-fastened with structural screws into solid framing behind it. The door was rehung, shimmed square, and tested for full range of motion. We added new weatherstripping around the perimeter.
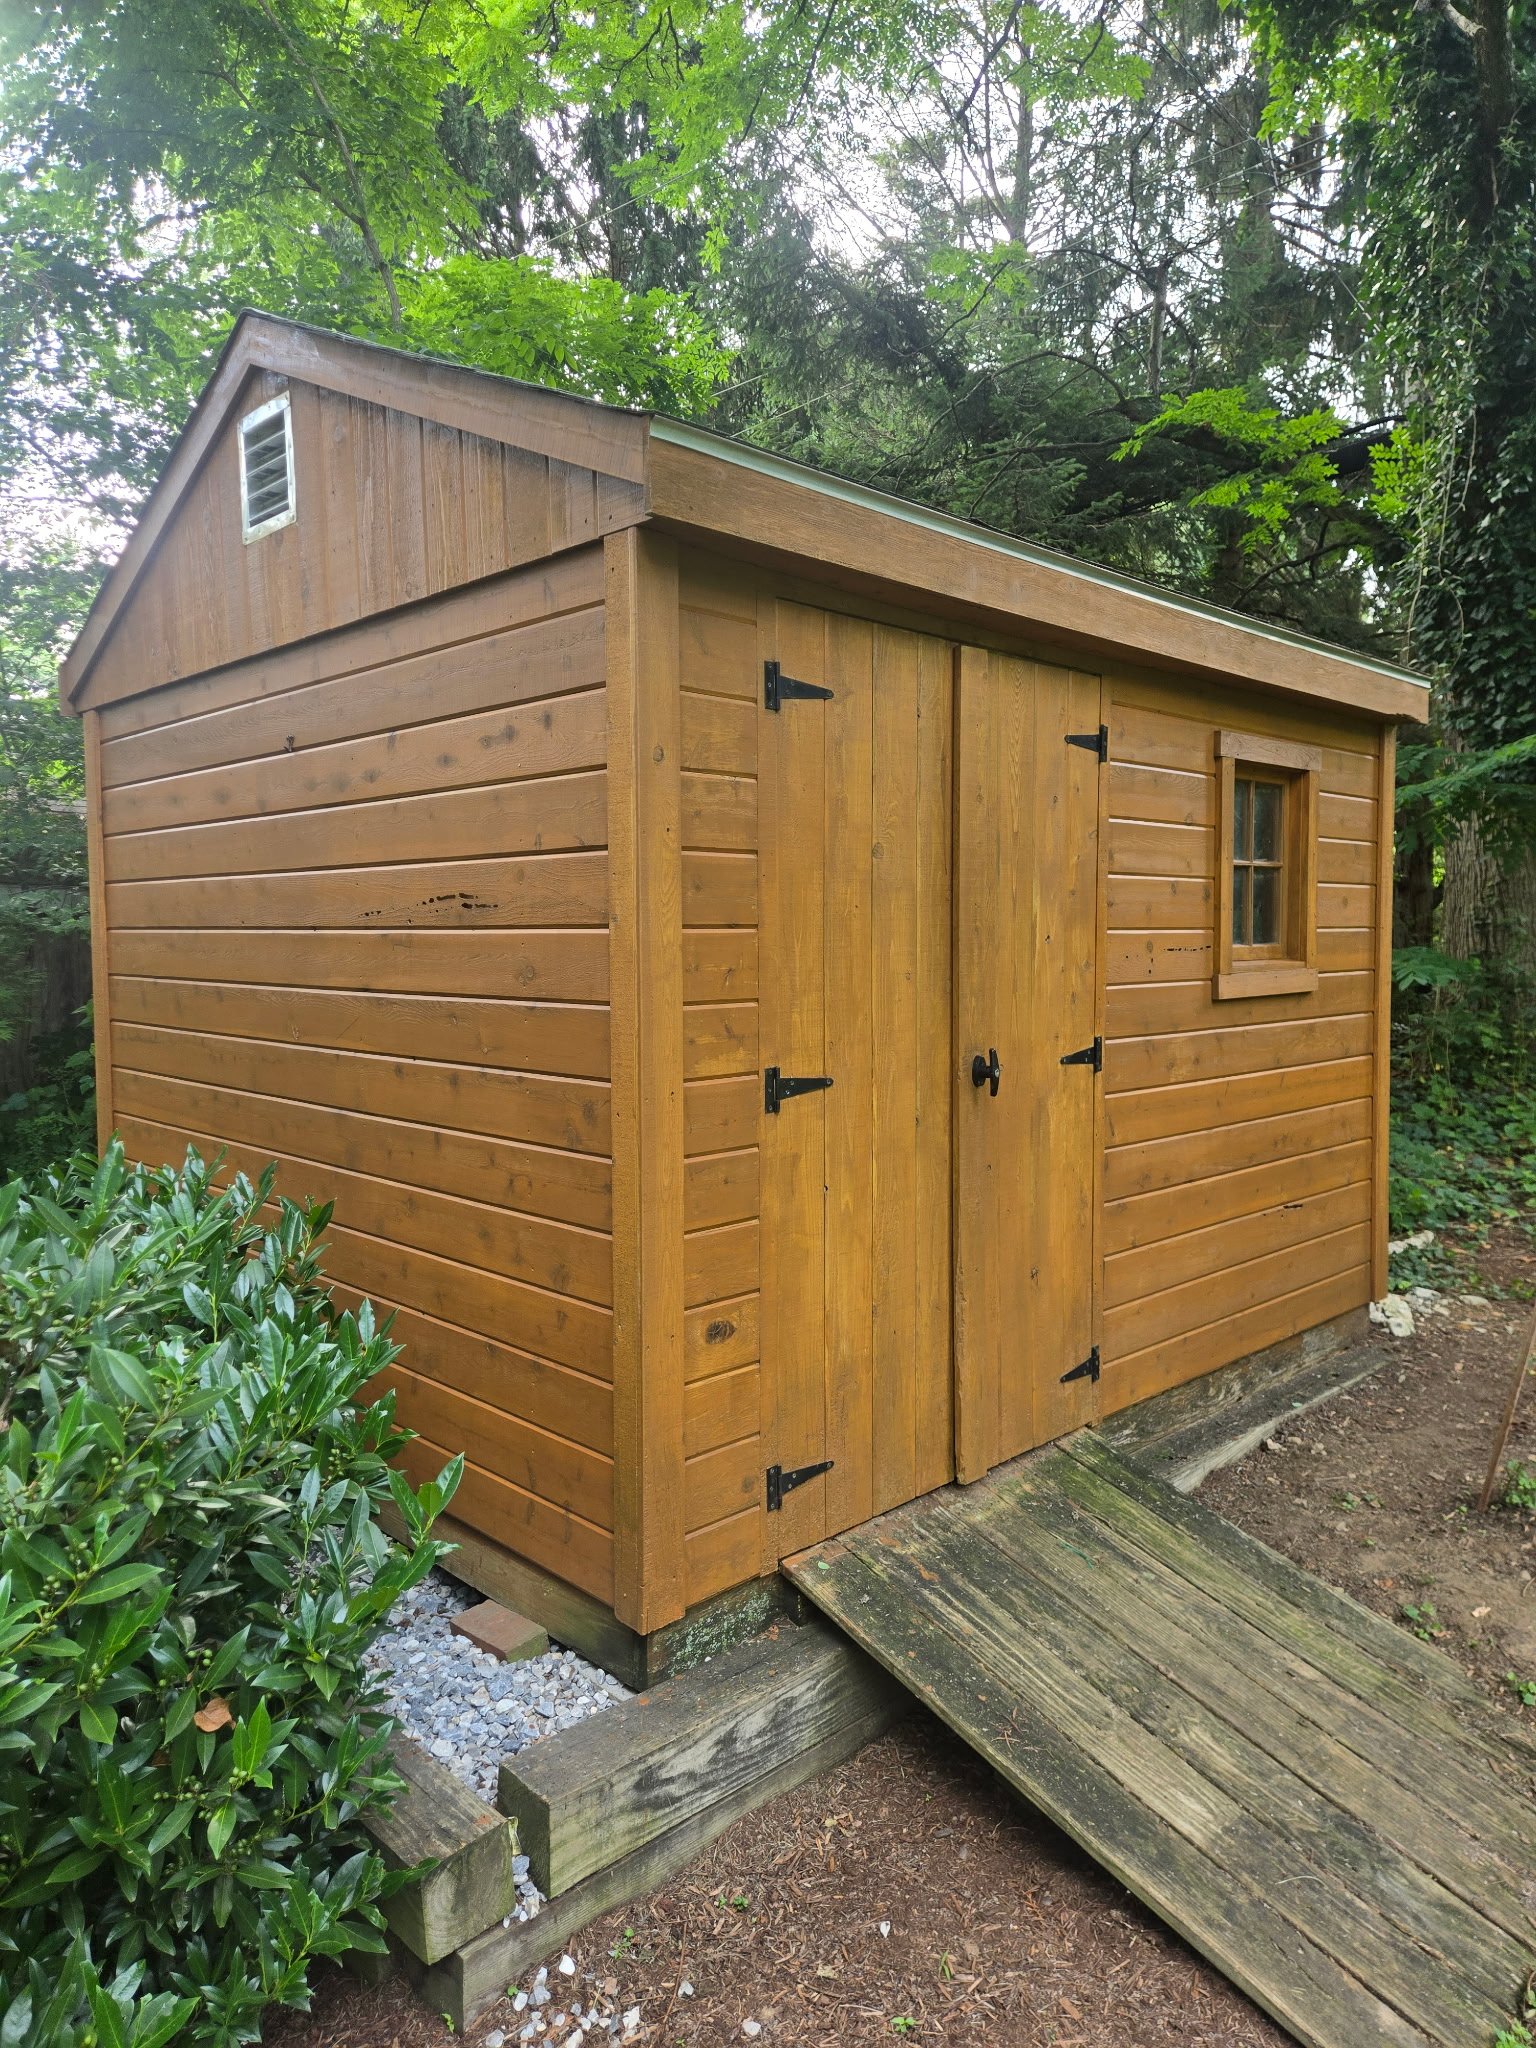
Staining and finish coat. The entire exterior was cleaned, sanded at the seams, and finished with a premium semi-transparent exterior stain in a warm cedar tone. That unified the new and old boards visually and added a protective barrier against future moisture.
The Result
Four days after we started, the Harmon shed looked and performed like a structure in its prime. The door swings clean, the roof is weathertight, and the new siding blends naturally with the existing material. At a total project cost of $6,800, the family saved more than $4,000 against replacement, and they kept a shed that already fit their property perfectly.
We also applied a mold-resistant primer under the stain on all repaired areas and treated the two floor joists with a borate-based wood preservative to stop any latent moisture activity. These are not visible finishes, but they are the kind of detail that decides whether a repair holds for five years or fifteen.
It looks better than it did when it was new. I genuinely could not tell you which boards are old and which ones they put in.
What This Case Illustrates
Most shed repair calls we get involve structures that someone has already been told are not worth saving. In our experience, that is rarely true. Unless a foundation has failed or framing has been compromised by sustained moisture over many years, a well-built shed can almost always be repaired for far less than replacement, and repaired well.
The key is an honest assessment before any work begins. We never quote repairs without walking the structure first, because the visible damage and the actual damage are often two different things, in both directions.
Key Takeaways
A borate treatment on any moisture-exposed framing is cheap insurance against future decay.
Rot on siding does not mean structural failure. Always assess the framing separately.
Working top down, roof to walls to floor, prevents rework and controls moisture during the job.
Priming replacement boards on all six sides before installation is a small step that dramatically extends their life.
A uniform finish coat unifies old and new material so the repair is invisible.